Vendor contacts
What it does
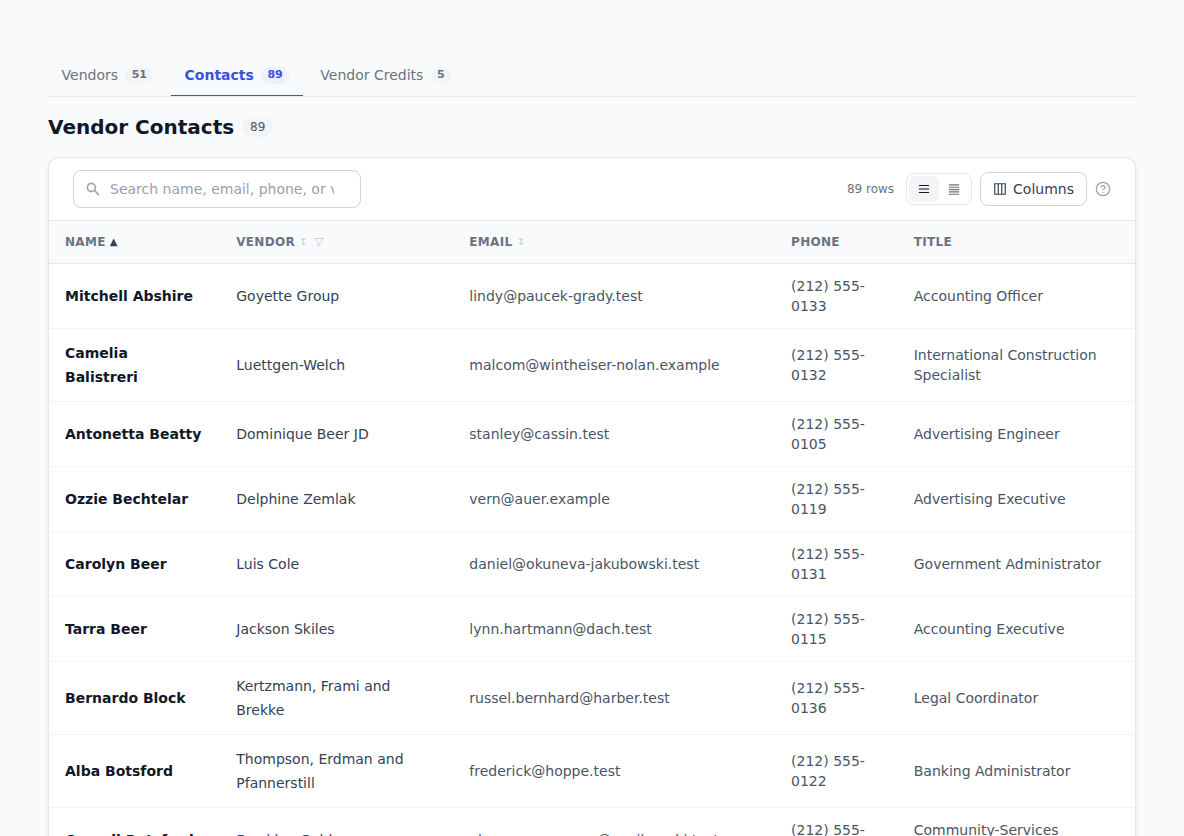
Contacts are the people you actually deal with at each vendor — the accounts-payable clerk, the sales rep, whoever answers your email. The Contacts tab gathers every contact from every vendor into one searchable directory.
How to use it
Add a contact to a vendor
- Open the vendor from Vendors.
- In the contacts panel, click Add contact.
- Fill in First name and Last name. Email, title and an address are optional.
- Click Add contact.
You can also add contacts while you're creating or editing the vendor: click + Add contact on the form and fill in the row. Add as many rows as you need — they save with the vendor.
Browse the directory
- Click Vendors in the sidebar, then the Contacts tab.
- You'll see every contact across all your vendors, in alphabetical order, with a count of how many there are.
- Type a name in the search box to narrow the list.
- Click a vendor's name in any row to jump to that vendor.
The directory is read-only — add and edit contacts on the vendor's own page.
Edit or remove a contact
Open the vendor, find the contact, and use Edit or Delete on their row. Deleting a contact doesn't touch the vendor.
Troubleshooting & Help
- The contact you added isn't in the directory. Check the search box and the filter chips — clear them to see everyone.
- You can't edit someone from the directory. That screen is a read-only view. Click the vendor's name in the row and edit the contact there.
- You want to invite a contact to send you invoices. They need an email address on their contact record first. See The vendor portal.